Dispatchers run the day. This guide is the new-user walkthrough of the Dispatch page — what each panel does, how Auto-Assign works, and the morning-to-evening rhythm that turns a chaotic queue into a predictable day. New dispatchers typically spend their first week confused about Schedule vs Dispatch (different tools for different times of day); this guide clears that up.
Estimated time: 8 minutes
Before You Begin
- Dispatcher (or Manager / Owner) role (Roles, Permissions, and Security)
- A handful of jobs in the queue (Creating and Managing Jobs)
- Two or more technicians on your team
Schedule vs Dispatch — the daily rhythm
This is the most common new-user confusion:
- Schedule (guide) is the multi-day calendar. Best for planning — “what does next Tuesday look like?”. Use it for the morning planning meeting and the weekly dispatch cadence review.
- Dispatch (this page) is the active today-only view. Best for running today — map of techs in real time, AI Auto-Assign for incoming emergencies, live status updates as techs move between jobs.
Most dispatchers have both tabs open: Schedule for the long view, Dispatch for the active hour-by-hour. Switching is fine, but Dispatch is where you’ll spend 80% of your time during business hours.
Step 1: Open the Dispatch page
Click Dispatch in the left sidebar. Direct URL: /dispatch. The page splits into three vertical zones: Job Queue (left), Map (center), Technicians (right).
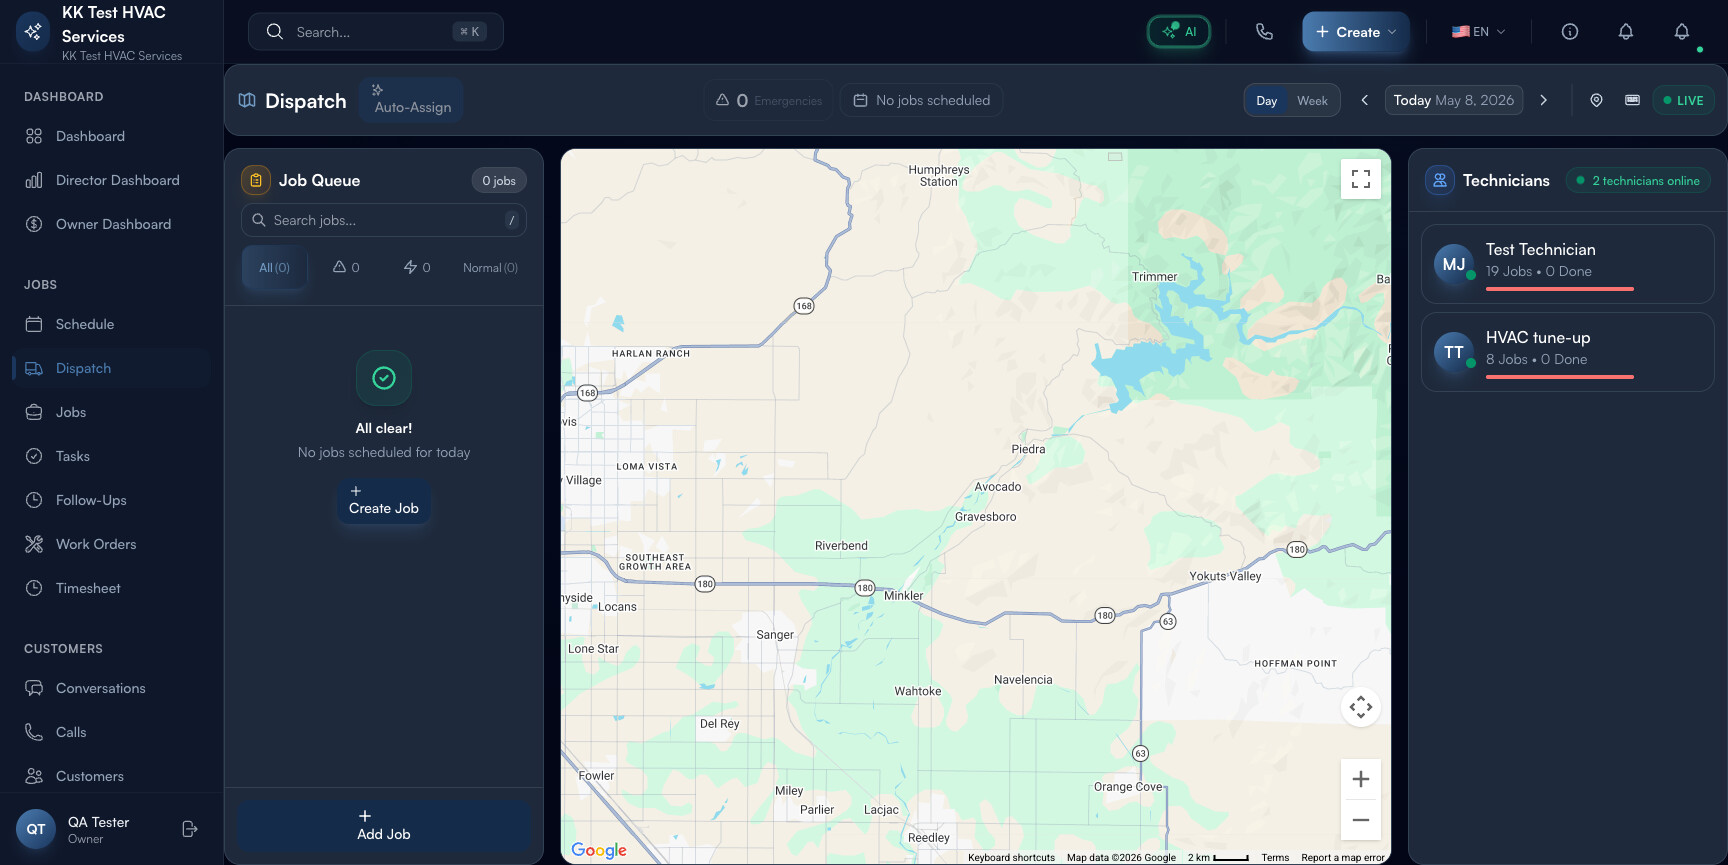
Step 2: Read the page header
The header carries the day’s pulse:
![]()
Left to right:
- Dispatch title + Auto-Assign button — fires AI dispatch (more in Step 5)
- Emergencies count — how many priority-1 emergency calls in the queue right now (red if any)
- Jobs scheduled count — total jobs scheduled for the active day
- Day / Week toggle — switches the map and queue view between today and the week
- Today + date pickers — jump to any day
- LIVE indicator (green dot) — confirms real-time updates are flowing; if it’s off, you’re working off a stale snapshot — refresh
Tip: Glance at LIVE every 15 minutes. It can quietly turn off if your laptop sleeps or your wifi drops. Working off stale data leads to double-bookings and customer complaints.
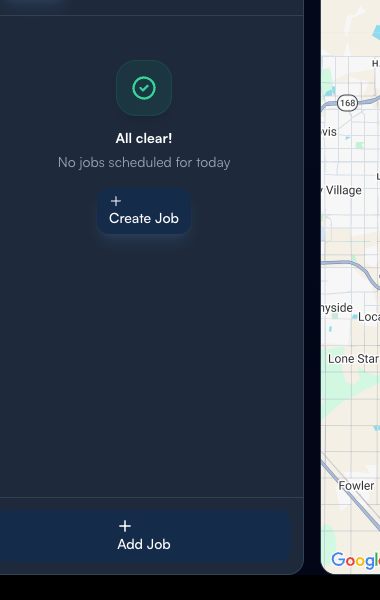
Step 3: Read the Job Queue (left panel)
The Job Queue is the day’s job list, sorted by status:
Anatomy of the panel:
- Job count badge at the top — “18 jobs” total
- Priority filter pills — All / Normal / Emergency
- Search box — match by job title or customer
- Job cards below with status pill (Cancelled / En Route / Scheduled), title, duration, technician
Click any card to highlight that job’s pin on the map. Drag a card to a tech’s column on the map (or use the popover) to assign.
Step 4: Read the Map (center)
The center pane is a live map of your service area with two things on it:
- Job pins — color-coded by status (red = emergency, yellow = scheduled, green = in progress)
- Technician markers — each tech’s last known location
Click a pin to see the job summary. Click a tech marker to see their current job + ETA. The map is the dispatcher’s situational-awareness tool — at any moment you can answer “where is everyone right now?”.
Tip: The map only shows tech locations if techs have the mobile app installed and location sharing turned on. Without it, tech markers show their last known job’s address (typically yesterday’s last visit). Onboard mobile early — the map gets way more useful with live tech data.
Step 5: Use Auto-Assign
The Auto-Assign button at the top fires AI Dispatch — the system reads every unassigned job and proposes a tech assignment based on:
- Skill match — does the tech have the required certs?
- Proximity — current location to job address
- Availability — schedule conflicts
- Workload balance — who’s overloaded vs. who has slack
- Performance — recent metrics
Click Auto-Assign, review the proposed assignments (a side panel shows each one with reasoning), accept all or override individual ones. Total time: 30-90 seconds.
Tip: Auto-Assign is configured under Configuring the AI Assistant → AI Dispatch. The default 30/25/20/15/10 weighting works for most operations; tune as your team and territory mature.
Step 6: Watch the Technicians panel (right)
The right rail lists every active tech with:
- Avatar + name
- Live status — Available / On Job / En Route / Off-shift
- Job count today + completion bar (e.g. “8 Jobs · 0 Done”)
Click a tech to filter the queue and map down to their day. Use this to:
- Spot under-loaded techs (under 4 jobs by 11 AM = capacity to fill)
- Catch a stalled tech (no progress on completion bar in 2+ hours = reach out)
- Plan handoffs between techs
Step 7: Switch between Day and Week
The Day / Week toggle in the header expands the view scope:
- Day — only today’s jobs visible on map and in queue (most useful 90% of the time)
- Week — overlay this whole week’s jobs (useful for the morning planning meeting where you scan upcoming days)
Stay in Day during active dispatching; flip to Week for planning conversations.
Step 8: The end-of-day checklist
Before logging off, your queue should be at:
- 0 unassigned jobs for today (everything has a tech)
- All emergencies resolved or explicitly escalated to on-call
- Rollover jobs marked Tomorrow so they’re on the next day’s plan
- Cancelled jobs marked Cancelled (not left as Scheduled)
If something’s still open: either deal with it now or write a “why this is open” note in the job’s internal notes for the next dispatcher.
Step 9: Common new-user questions
Q: Should I use Auto-Assign or assign manually?
A: Both, in this order. Run Auto-Assign first to get sane defaults across all unassigned jobs. Then review and override the 1-3 assignments you have human context for (e.g. “the customer specifically asked for Mike”). 5 minutes of Auto-Assign + review beats 45 minutes of manual one-by-one.
Q: A tech is “Available” on the right panel but I know they’re on a job. What gives?
A: The status updates from their mobile app. If they tapped Mark Complete prematurely or didn’t tap Start Travel on their next job, the dashboard shows stale state. Coach the tech to use the app’s status taps; the data quality improves quickly.
Q: Why is there both a Schedule page and a Dispatch page?
A: Different tools for different times. Schedule = planning view (multi-day calendar). Dispatch = active dispatching (today’s map + queue). See top of guide.
Q: An emergency just came in — what’s the fastest workflow?
A: 1) Click Auto-Assign in the header — Auto-Assign prioritizes emergencies and proposes the closest qualified tech immediately. 2) Review the proposal in the side panel. 3) Accept or override. 4) The customer auto-receives an ETA SMS. End-to-end: under 60 seconds.
Q: How does this page interact with the AI receptionist?
A: When the AI receptionist books a job (via Voice AI), the new job lands in the Dispatch queue automatically — typically within 30 seconds of the call ending. Your dispatcher sees it appear on the queue without anyone manually typing it in.
Step 10: Common new-user mistakes
- Ignoring LIVE indicator — leads to working off stale data and double-bookings. Glance at it like you would a fuel gauge.
- Auto-Assigning then never reviewing — the AI is right ~85% of the time, wrong on edge cases. Review takes 30 seconds; missing a wrong assignment leads to a customer complaint.
- Treating Dispatch as a planning tool — it’s not. For multi-day planning, switch to Schedule. Trying to plan next week from Dispatch fights the UI.
- Leaving the page closed — the LIVE updates only flow when the page is open. Close the tab and you’ll come back to a queue that may have changed without your notice.
Real-World Example
It’s 7:50 AM. You open Dispatch and see 18 jobs queued for the day, 3 emergencies in red, 4 techs available. You click Auto-Assign — it spreads the 18 jobs across the 4 techs in 3 seconds, prioritizing the emergencies for the closest techs. You review: one suggestion is wrong (tech doesn’t have the skill), you swap it manually. By 8:05 AM, every tech has their first three jobs and is on the road. You spend the rest of the morning watching the LIVE indicator, redirecting techs as customers cancel, and dragging late-arriving emergencies onto the schedule. Total active dispatching time: about 90 minutes spread through the day; the rest of your time is on Conversations and Owner Dashboard.
What’s Next?
- Using the Schedule Board — the planning companion to Dispatch
- Creating and Managing Jobs — every dispatch starts with a job
- Conversations and Customer Chat — keep customers informed mid-dispatch
- Configuring the AI Assistant — tune Auto-Assign scoring weights
- Owner/Manager Dashboard Guide — review yesterday’s dispatch performance
Need help? Post in the Tech Support category or contact support@exoserva.com.