Setting up Stripe Payments turns your invoices into pay-with-a-tap experiences. Customers click a link, choose card / Apple Pay / Google Pay / ACH, and the money lands in your bank within 1-2 business days. This guide walks the connection flow, the operational settings worth touching on day one, and the gotchas that bite first-time setup.
Estimated time: 8 minutes
Before You Begin
- Owner or Tenant Administrator role (Roles, Permissions, and Security)
- Business banking info — routing + account number for deposits
- EIN / Tax ID — set on your Company Information first (Customizing Your Branding)
- A government-issued ID for Stripe identity verification (driver’s license / passport)
- Business address matching your Stripe filing — discrepancies trigger manual review
Step 1: Open the payments setup
Press ⌘K to open Settings, then click Billing & Taxes under Operations. Direct URL: /settings/billing. The page shows your current payment-gateway status and balances.
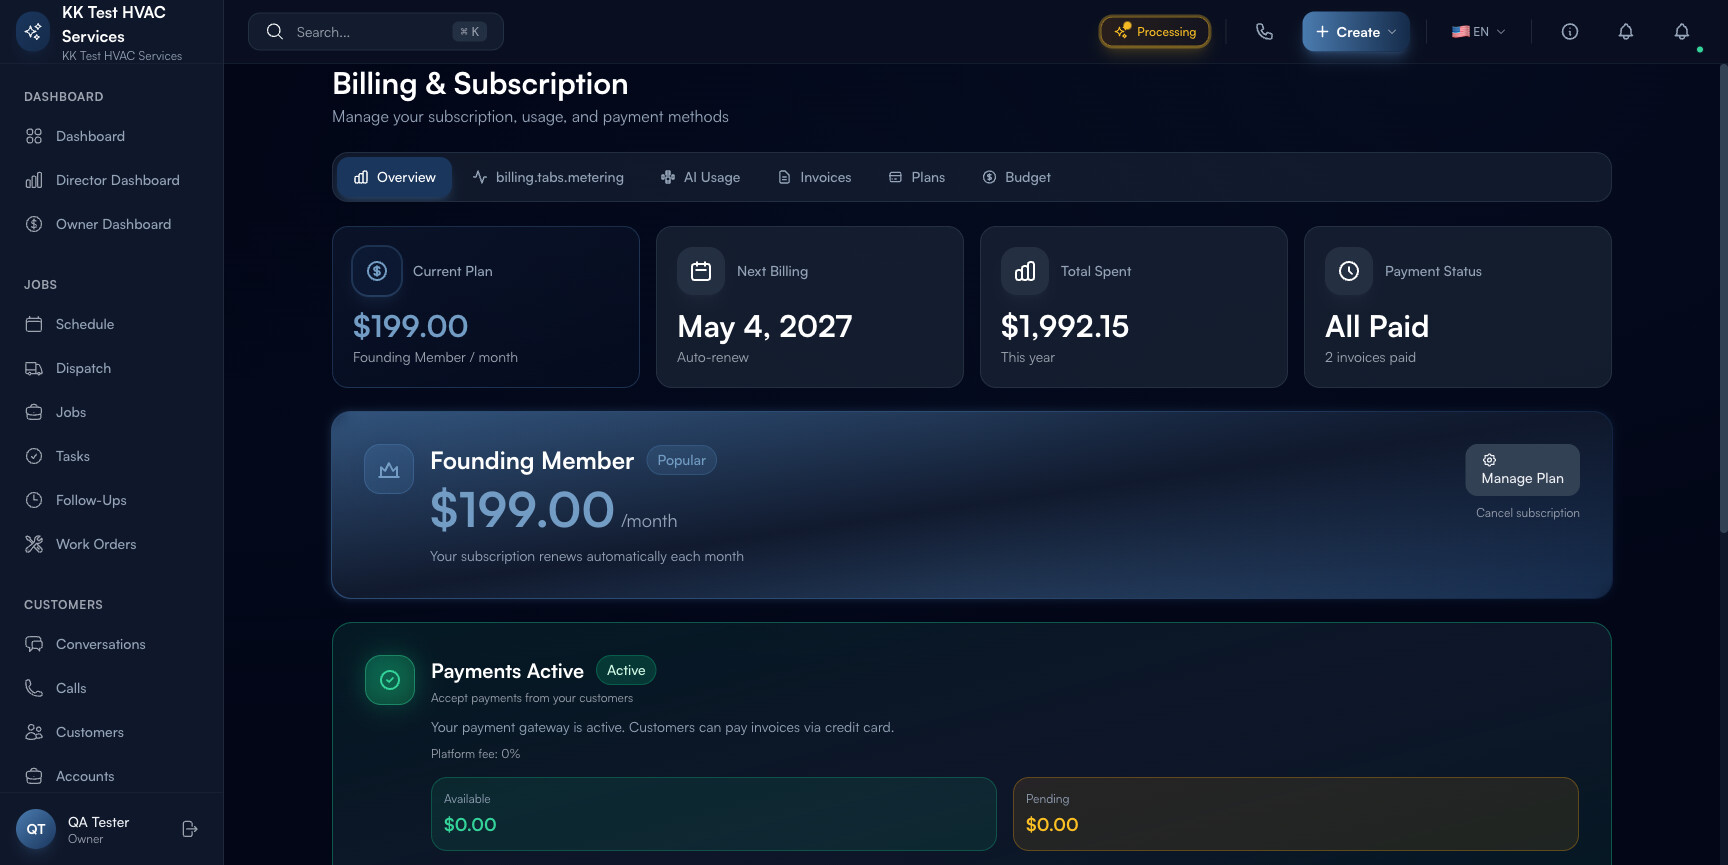
The page header carries:
- Active / Inactive badge — payment gateway connection status
- “Accept payments from your customers” — short pitch
- Platform fee — what Exoserva charges as a markup on top of Stripe’s processing fee (varies by tier)
- Available balance — what’s been transferred and is ready to bank-transfer
- Pending balance — payments processed but not yet cleared (typically 2 business days)
- Open Dashboard button — jumps to your Stripe-hosted dashboard for raw transaction data
Step 2: Click “Open Dashboard” or initiate connection
If the badge shows Inactive, you’ll see a Connect or Set Up Payments button instead of Open Dashboard. Click it to start Stripe Connect’s hosted onboarding:
- Sign in or create a Stripe account — most contractors don’t have one yet; the Create New Account path is fine
- Verify business details — legal name (must match your EIN filing), business type, EIN, address
- Verify personal details — for sole proprietors, this is your driver’s license; for LLC/Corp, the listed officer
- Connect bank account — routing + account; Stripe runs micro-deposits to verify (~2 business days)
- Review and submit
You’re returned to Exoserva. The badge flips to Active. Stripe will email you status updates if their underwriting flags any document.
Step 3: Understand the platform fee
Exoserva charges a platform fee on top of Stripe’s standard processing rate. The combined cost (passed through to you, not the customer) varies by tier:
- Stripe standard: 2.9% + $0.30 per card transaction
- Exoserva platform fee: 0.5-1.0% (tier-dependent)
- Total: 3.4-3.9% per card transaction
For comparison: ACH is ~$3 flat fee per transaction (much cheaper for big-ticket invoices). Tap-to-pay in-person is ~2.7% + $0.10. Use ACH for $1,000+ invoices to save 3-5x on fees.
Tip: Add a one-line note on each invoice’s footer: “For amounts over $500, paying via ACH (bank transfer) saves you a small fee — same payment link works for both.” Most B2B customers will pick the ACH option, saving you both money.
Step 4: Wire up customer-facing payment
Once connected, every Invoice in Exoserva auto-includes a Pay Now button that takes the customer to a hosted payment page. The page shows:
- Your business name and logo
- Invoice number and total
- Three payment options: Card / ACH / Apple Pay or Google Pay (mobile)
- Your customer’s stored payment methods (if they’ve paid before)
Customer experience: tap the link → tap Apple Pay → done. The whole flow is ~10 seconds on mobile.
Step 5: Configure Tap-to-Pay (in-person collection)
For on-site card collection, your tech can use Stripe’s tap-to-pay on iPhone (or Android) directly from the Exoserva mobile app. No card reader required — the phone IS the reader.
Setup once per phone:
- Tech downloads the Exoserva mobile app
- Logs in with their account
- Opens any open Invoice → Collect Payment → Tap-to-pay
- Phone prompts customer to tap their card on the back of the phone
- Receipt sent to customer email instantly
Tip: Tap-to-pay has a lower processing rate than online card (2.7% vs 2.9%) — saves you ~0.2% on every in-person collection. Train techs to use it as the default for paid-on-site jobs.
Step 6: Set up payouts schedule
By default, Stripe transfers your Available balance to your bank weekly. Change this in the Stripe-hosted dashboard (Open Dashboard button on the Billing page):
- Daily — fastest cash flow, but bank transfers post small amounts each business day; some banks find this annoying
- Weekly — most contractors’ default; one weekly deposit, easier to reconcile
- Monthly — only if your bookkeeper prefers; trades cash flow for batching simplicity
Warning: During your first 1-2 months, Stripe holds funds on a 7-day rolling basis (their fraud-protection default for new accounts). Available balance shows the cleared portion; Pending shows the held portion. After ~60 days of clean processing, the hold reduces to 2 days.
Step 7: Handle disputes and chargebacks
Customers occasionally dispute a card charge with their bank. Stripe pulls the funds back from your account and sends you an alert in the Stripe dashboard. You have 7 days to respond with evidence.
In the Stripe dashboard, the Disputes tab shows each one. Upload:
- Original signed estimate (PDF)
- Completed-job photos
- Customer-confirmed completion (signature on completion checklist)
- Conversation thread showing customer satisfaction (Conversations export from Exoserva)
Win rate on disputes with photo + signature evidence: ~70%. Win rate without: ~15%. Document everything from day one — you’ll thank yourself when the first dispute lands.
Step 8: Enable saved cards (Stripe Customers)
For repeat-customer operations, enable Save card on file in the customer record. Next time they pay, they tap once instead of re-entering card info — and you get higher conversion on automated billing (recurring service contracts, deposit auto-pay).
This is opt-in per customer; customers are prompted on the payment page with a “Save for next time?” checkbox.
Warning: Stored cards live in Stripe’s vault, not yours. You don’t see the card number; you reference a saved-card token. This is good — the contractor who stores raw card numbers in a spreadsheet is one breach away from being on the news. Let Stripe handle the PCI compliance.
Step 9: Reconcile with QuickBooks (if connected)
If QuickBooks is connected, every Stripe payment flows automatically as: customer → invoice → payment → deposit category. Your accountant gets a clean book at the end of the month with no manual entry.
If QuickBooks isn’t connected, export Payments from Exoserva monthly (Tracking Payments → Export) and hand to your bookkeeper.
Real-World Example
You’re a plumber with $40k/month in revenue, mostly residential. Before Stripe: customers paid by check (5-10 day delay), DSO ~38 days. After Stripe Connect: customers tap a link from the invoice email, ~70% pay within 48 hours. DSO drops to 18 days. Cash flow improvement: ~$26,000 freed up over the year, before you’ve taken on a single new customer. Total setup time: ~30 minutes one Tuesday morning.
What’s Next?
- Creating and Sending Invoices — every invoice gets a Pay Now link
- Tracking Payments — payments flow into here automatically
- Connecting QuickBooks — reconcile to your books with no manual entry
- Field Service Invoicing: How to Get Paid Faster — the strategic playbook
Need help? Post in the Tech Support category or contact support@exoserva.com.