Estimates are how you turn a customer inquiry into approved work. New users often confuse them with invoices — but estimates come before the work, get signed, and convert into Jobs. This guide walks the Estimates page anatomy with screenshots, the daily approval workflow, and the small habits that lift your win-rate from ~30% (industry average for cold quotes) to 50%+.
Estimated time: 10 minutes
Before You Begin
- Owner, Manager, Dispatcher, or any role with Manage Estimates permission (Roles, Permissions, and Security)
- A Price Book populated so you can drop in line items (Setting Up Your Price Book)
- At least one Customer to attach the estimate to (Managing Customers)
What is an “Estimate” — and how does it differ from an Invoice?
This is the #1 confusion for new users:
| Object | When | What it says | What customer does |
|---|---|---|---|
| Estimate | Before work | “Here’s what it will cost” | Approves (signs) |
| Invoice (guide) | After work | “Here’s what you owe” | Pays |
Approved estimates flow into Jobs automatically. Completed jobs flow into Invoices. Invoices flow into Payments. Four objects, one chain — and Estimates are step one.
Step 1: Open the Estimates page
Click Estimates in the left sidebar. Direct URL: /estimates. The page lists every estimate in the workspace.
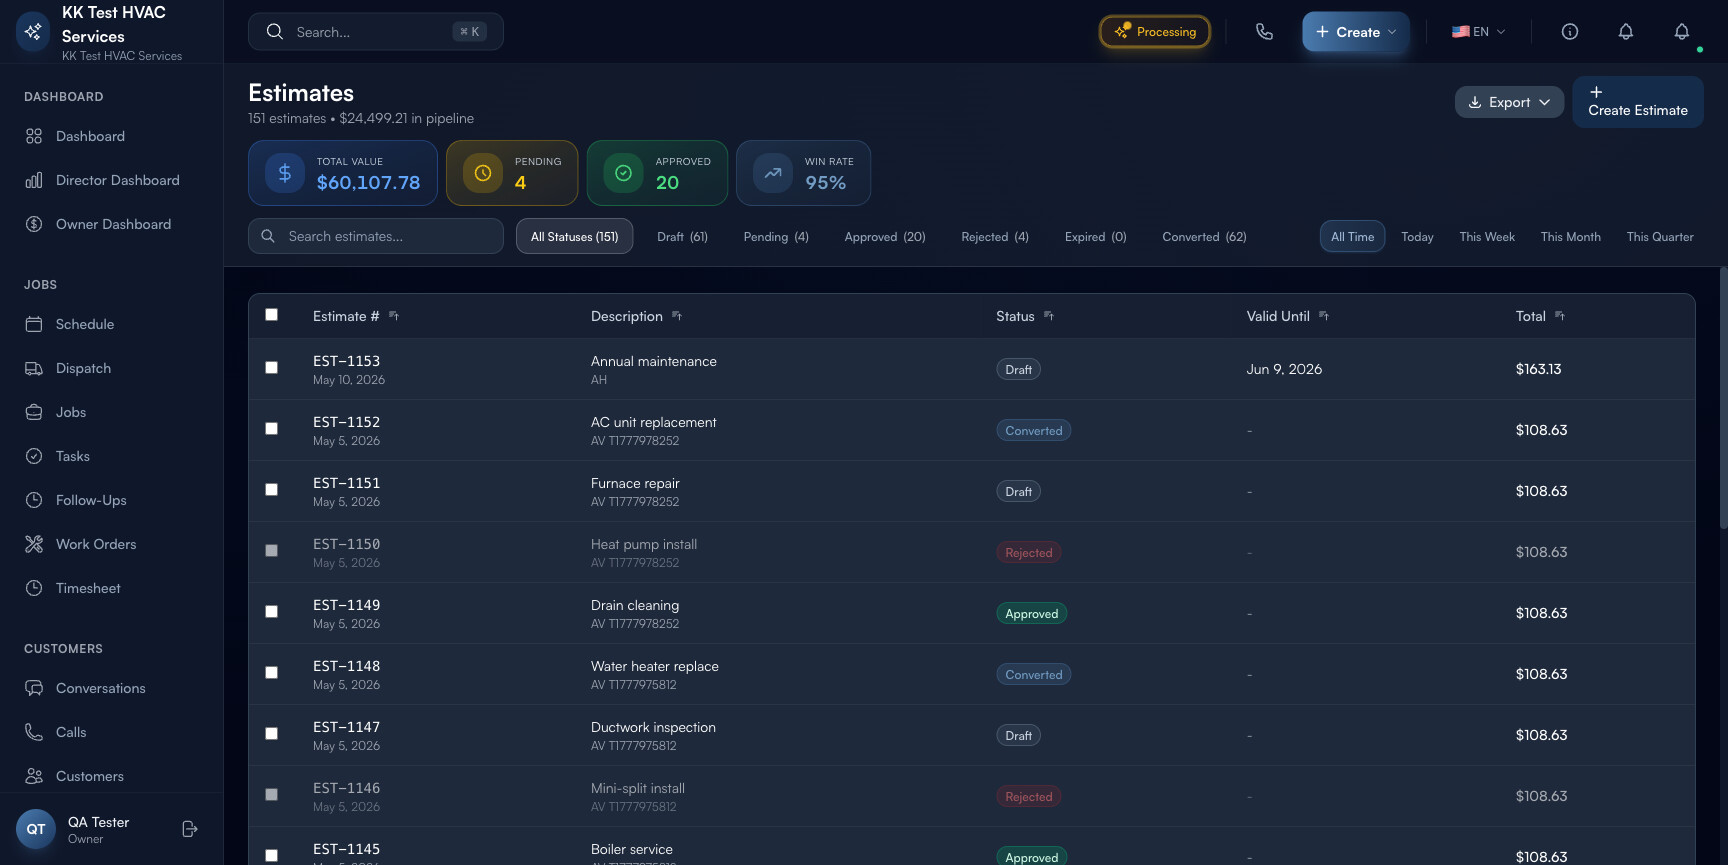
Step 2: Read the page header
The strip at the top is your sales-pipeline indicator:

- Title and total count — every estimate, regardless of status
- Pipeline value — total $ across all open (not yet decided) estimates
- Action toolbar — Export, Bulk Actions, + Create Estimate
Tip: Watch Pipeline value week over week. If it shrinks while close-rate is steady, your team isn’t quoting enough new work — time to push more lead generation. If it grows while close-rate drops, your quotes are too aggressive — discount strategy might be off.
Step 3: Read the status tabs
Above the table, status filters break estimates by lifecycle state with live counts:
![]()
- All — total
- Draft — created but not yet sent to customer
- Sent — emailed/SMSed, awaiting decision
- Viewed — customer opened the estimate (Exoserva tracks the open)
- Approved — customer clicked Approve (with optional e-signature) — auto-converts to Job
- Rejected — customer clicked Decline (with optional reason)
- Expired — past validity date, no decision
Tip: Viewed but not Approved is your highest-leverage list. The customer is interested but undecided. A short follow-up call (“hey, saw you opened the estimate — anything I can clarify?”) closes ~40% of these.
Step 4: Read the table columns
Each estimate row carries:
![]()
- Estimate # — auto-generated (e.g. EST-2046)
- Customer — name of person/business receiving the quote
- Description — service summary (auto-pulled from first line item if you don’t write one)
- Status — color-coded pill
- Created / Sent / Valid Until — date columns
- Total — quote amount
Click any row to open the estimate detail with full PDF preview, customer view-tracking, and action buttons.
Step 5: Create a new estimate
Click + Create Estimate in the top-right. The estimate wizard asks:
- Customer — search-pick existing or create new inline
- Service Address — pre-fills from customer’s primary address; override for one-off properties
- Line items — pulled from your Price Book. Each line: description, qty, unit price, total. Add as many as needed.
- Discount — flat $ or % off subtotal
- Tax — auto-applied per workspace tax config; overrideable per estimate
- Validity — defaults to 30 days; configurable
- Customer notes — warranty, scope-of-work, exclusions
- Internal notes — only visible to your team
Click Save Draft to keep editing, or Send to Customer to email/SMS with a one-click approval link.
Tip: Add a “good / better / best” tier inside one estimate using line-item options. Customers who see three tiers approve at 1.7× the rate of single-price quotes — and they almost always pick the middle one (anchor pricing).
Step 6: The customer approves (or rejects)
When you click Send to Customer, Exoserva emails/SMSes a link. Customer opens the link → sees a clean PDF view → clicks Approve or Decline.
- Approve — optional e-signature drawn on touchscreen, automatic conversion into a Job, automatic email to your team
- Decline — optional reason field (price too high / chose competitor / no longer needed)
- View tracking — the moment they open the link, status flips to Viewed and you get a notification
Warning: Don’t chase a Sent estimate before it goes Viewed. The customer hasn’t read it yet — pinging them looks pushy and lowers close-rate. Wait for Viewed status, then follow up the next morning.
Step 7: Bulk actions
Select multiple estimates with the checkboxes → Bulk Actions menu opens. You can:
- Send Reminder — to all selected Sent estimates that haven’t been viewed in 3+ days
- Mark Expired — bulk-close everything past validity date that you no longer want to chase
- Export to CSV — for your accountant or for sales-pipeline analysis
Tip: Run a Friday afternoon ritual: filter to Sent + Viewed but not Approved + older than 5 days → Bulk Actions → Send Reminder. Half-an-hour of clicking on Friday recovers 15-20% of stale quotes by Monday.
Step 8: Convert estimate → job → invoice
When a customer approves, the estimate auto-creates a Job with all the same line items. You schedule the job, your tech does the work, you mark it Completed → that completed job appears in the Ready to Invoice banner on the Invoices page.
The whole quote-to-cash chain: Estimate (signed) → Job (scheduled, completed) → Invoice (sent, paid). No re-typing, no copy-paste between systems.
Step 9: Common new-user questions
Q: Customer says “yes” by phone — do I still need them to click Approve?
A: Strongly recommended. Verbal approval is unenforceable; a click+signature is. If you don’t get the click, you’re vulnerable to the customer disputing scope/cost when the bill arrives. If they refuse to click, at least mark the estimate Approved manually and add a note quoting the date/time of the verbal go-ahead.
Q: How do I update an estimate after it’s sent?
A: Open it → click Edit → save. Customer gets a notification that “Your estimate has been updated” with a fresh link. Old links still work but show the new version.
Q: Customer says “the price is too high — can you do better?”
A: Open the estimate → click Duplicate → reduce the price → send the new one (referencing the original). Keep the original in the system as Rejected with reason “Price negotiation” — useful data for your sales analytics.
Q: Can I see if the customer opened the estimate but not who else?
A: Yes — the Activity tab on each estimate shows every email open and link click with timestamp. If your contact forwarded it to a spouse / business partner, you’ll see two distinct opens (different IPs) — useful signal that a decision-maker is now involved.
Q: How long should “Valid Until” be?
A: 30 days is the safe default. For materials-heavy quotes (where supplier prices fluctuate), drop to 14 days. For service-only quotes (labor, no parts), 60 days is fine. Always set some expiration — open-ended estimates get forgotten.
Step 10: Common new-user mistakes
- Quoting too cheap to “win the work” — undercutting your true cost-plus-margin doesn’t win loyal customers; it wins price-shoppers who’ll switch on the next $20 quote. Quote your real number with confidence.
- One-line estimates — “HVAC repair $1,200” gives the customer nothing to evaluate. Break it out: diagnostic, parts (with model #s), labor, warranty. Itemized estimates approve at 2.3× the rate of lump-sum.
- No photos in the estimate — site photos showing the equipment, the access path, the existing damage convert lookers to buyers. Drop them in the customer-notes field.
- Forgetting to follow up after Viewed — the Viewed but not Approved customer is highly approachable. Most contractors lose them by silence; a 30-second follow-up call closes 30-40% of them.
Real-World Example
Tuesday morning. You finish a diagnostic visit at a homeowner’s house — failing AC compressor, needs replacement. Back in the truck, you open Exoserva on your phone, click + Create Estimate, search the customer (already in your CRM from a maintenance visit last year), drop in three line items from your Price Book (compressor unit, refrigerant, labor) plus a 10% discount because she’s a repeat customer. Total: $2,840. You add three photos of the condenser unit and a one-line note about the labor warranty. Hit Send to Customer. Before you’ve finished writing up the diagnostic notes, your phone buzzes — “Estimate viewed by Customer”. By the time you’ve driven to your next call, another notification — “Estimate approved with signature”. The job has auto-scheduled itself for Thursday. Thursday’s tech opens the job, sees the parts list, picks them up at the supplier on the way over, completes the work, marks the job done. Friday morning the invoice auto-creates from the job, and the customer pays via the Stripe link before lunch. Total elapsed admin time: ~4 minutes.
What’s Next?
- Creating and Sending Invoices — the next step after an approved estimate
- Setting Up Your Price Book — speed up estimate creation with pre-built line items
- Creating and Managing Jobs — see what happens after approval
- Field Service Invoicing: How to Get Paid Faster — strategic playbook on pricing and AR
Need help? Post in the Tech Support category or contact support@exoserva.com.