Proper billing and tax configuration ensures accurate invoices and compliance. This guide covers setting up your tax rates, understanding your Exoserva subscription plan, and monitoring usage. Whether you need to configure state sales tax or review your plan limits, everything is managed from the Settings area.
Estimated time: 7 minutes
Before You Begin
- An active Exoserva account with Owner role
- Access to your business tax registration information
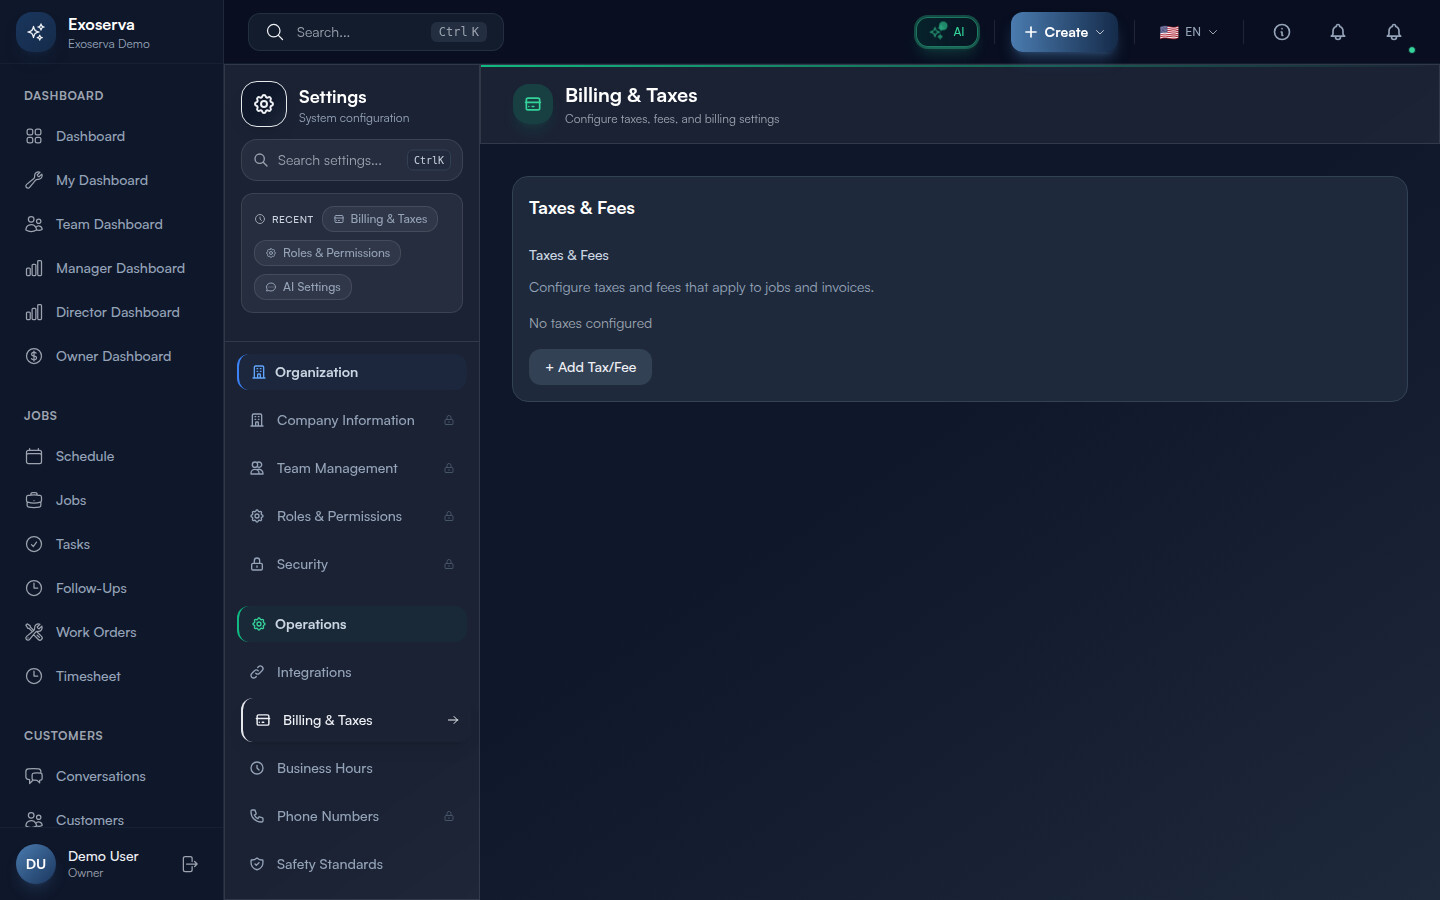
Step 1: Navigate to Billing and Tax Settings
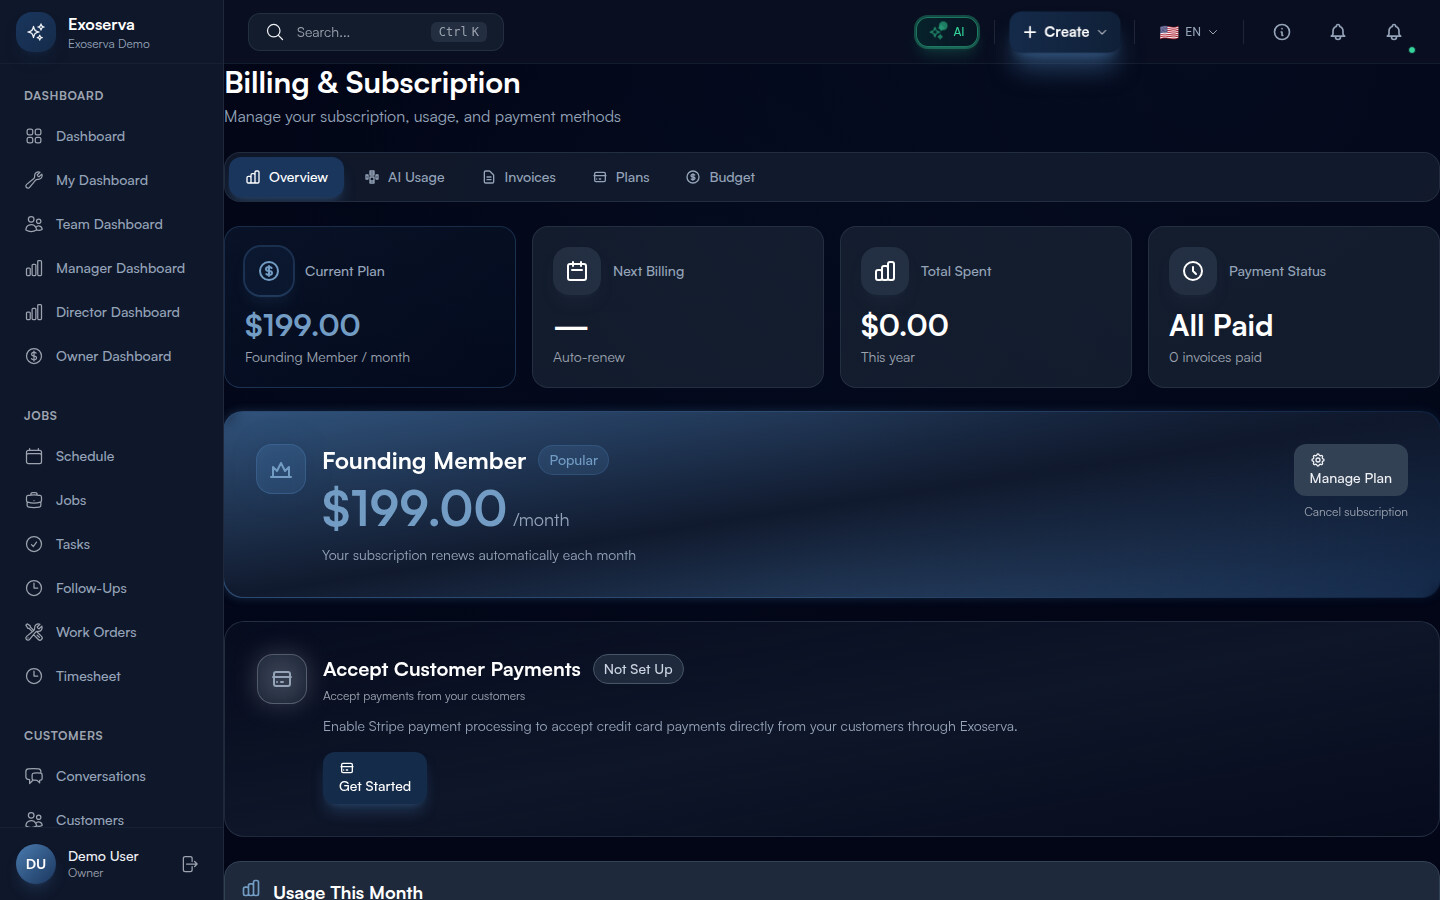
Go to Settings from the sidebar, then find the Billing & Taxes section. For subscription and usage management, navigate to the dedicated Billing & Subscription page by clicking “Billing” in the sidebar. This page opens with the title “Billing & Subscription” and the subtitle “Manage your subscription, usage, and payment methods.”
The Billing page features a tabbed navigation bar at the top with five tabs, each with an icon: Overview (bar chart icon), AI Usage (CPU icon), Invoices (file text icon), Plans (credit card icon), and Budget (dollar icon). The active tab is highlighted with a primary-colored background and white text, while inactive tabs show grey text that brightens on hover. If you are on a trial plan, an amber gradient banner appears below the header showing “Trial Period Active” with your remaining days and an “Upgrade Now” button.
Tip: Tax configuration for customer invoices is in Settings, while your own Exoserva subscription billing is on the dedicated Billing page. These are two separate areas – do not confuse customer-facing tax rates with your subscription management.
Step 2: Configure Tax Rates
In the Settings page under Tax Configuration, you can add and manage tax rates that apply to customer invoices. Click “Add Tax Rate” to create a new entry. Each tax rate has the following fields:
- Tax Name (text) – the display name that appears on customer invoices, e.g. “State Sales Tax”, “County Tax”, “GST”, or “VAT”
- Tax Rate (percentage) – the exact percentage, e.g. 8.25 for 8.25%
- Enabled (toggle switch) – controls whether this tax rate is actively applied to new invoices
You can add multiple tax rates if your jurisdiction requires it (for example, state tax plus county tax). Each enabled tax rate is applied to taxable line items on invoices. The tax name and calculated amount appear as separate lines on the customer-facing invoice, so use clear names that your customers will understand.
Warning: Changing a tax rate does not retroactively update existing invoices. Only new invoices created after the change will use the updated rate. If you need to correct an existing invoice, you must edit it manually.
Step 3: Set Tax Calculation Method
For each tax rate, configure whether the tax is calculated as exclusive (added on top of the service price) or inclusive (already included in the displayed price). Most US businesses use exclusive tax calculation, where a $100 service with 8% tax results in a $108 total. Some international markets use inclusive pricing, where a $100 price already includes the tax amount.
The toggle switch for each tax rate shows a filled primary-colored circle when enabled and a grey outline when disabled. Enable or disable individual tax rates as needed without deleting them – disabled rates are preserved for future use and can be reactivated with a single click.
Step 4: Review Your Subscription Plan
Navigate to the Billing page and ensure the Overview tab is selected (it is active by default). The Overview tab displays several card sections:
- Billing Summary Stats – shows your current monthly price, plan name, next billing date, total spent, and days remaining (with trial-specific messaging if applicable)
- Current Plan Card – a prominent card with a gradient border showing your plan name, price, and a “Current Plan” badge. The card includes a “Manage Plan” button and a “Cancel Subscription” link. If your payment has failed, a red alert banner appears with the message “Payment Failed” and instructions to update your payment method
- Connect Payment Gateway – integration with Stripe for payment processing
- Usage This Month – progress bars for Users, Properties, Jobs This Month, and Storage
- AI Usage Summary – cost breakdown and daily usage chart for AI features
To compare plans side by side, click the “Plans” tab in the tab bar. The Plans tab shows plan cards for Founding Member ($199/employee/month) and Standard ($249/employee/month), each listing included features with green checkmark icons. A monthly/annual billing toggle lets you switch between pricing options.
Step 5: Upgrade or Downgrade Your Plan
On the Plans tab, click the “Subscribe Now” button (shown during trial) or “Switch Plan” button on the target plan card. An upgrade confirmation modal opens showing the new plan price, the prorated charge for the remainder of your billing period (displayed in a blue info box as “Prorated charge: $X.XX”), and a feature list with green checkmark icons under “Included features.” Click “Confirm Upgrade” to proceed or “Cancel” to go back.
For downgrades, the confirmation modal displays a different layout with an amber warning banner reading “You are about to downgrade” along with consequences listed: decreased subscription cost, reduced feature limits, and no refund for the current billing period. A note explains “Changes will take effect at the end of your current billing period.” Click “Confirm Downgrade” or “Keep Current Plan” to cancel.
To cancel your subscription entirely, click “Cancel Subscription” on the Current Plan Card in the Overview tab. A cancellation modal presents consequences (premium feature removal, AI disabling, user limit reduction to 1) and asks you to select a cancellation reason from six radio button options: Too expensive, Missing features, Switched to another service, No longer need the service, Technical problems, or Other. Click “Cancel Subscription” (red danger button) or “Keep Subscription” to abort.
Step 6: Monitor Usage Meters
On the Overview tab, the “Usage This Month” card displays progress bars for each metered resource. Four usage meters are tracked: Users (active team members), Properties (managed locations), Jobs This Month (jobs created in the current billing period), and Storage (file storage in GB). Each meter shows a horizontal progress bar with the current value, the plan limit, and a unit label.
Below the general usage card, the AI Usage Summary card provides a detailed breakdown of your AI consumption including total AI cost for the current period, daily usage trends on a chart, and per-agent cost breakdown (Sales, Scheduling, Analyst, Property, Orchestrator agents). Click “Go to Budget” to jump to the Budget tab for setting spending limits.
The AI Usage tab in the tab bar provides even more detail: a daily usage chart, per-agent cost breakdown with bar graphs, and a detailed records table of individual AI interactions with timestamps and costs.
Step 7: Manage Payment Methods and Invoice History
Click the Invoices tab in the Billing tab bar to view two sections: your Invoice History and your Payment Methods.
The Invoice History section lists all past invoices from Exoserva with columns for date, amount, status (Paid or Pending), and a download link. Paid invoices show a green “Paid” badge, while pending invoices show an amber “Pending” badge.
The Payment Methods section shows your saved cards and payment options. Click “Add Payment Method” to open a modal with a Stripe-powered card form where you can securely enter your card number, expiration date, and CVC. You can add multiple payment methods and set a default. The system automatically retries failed payments using your backup payment method if the primary one fails.
If your most recent payment failed, a red alert banner appears on the Current Plan Card in the Overview tab with the message “Payment Failed” and a prompt to update your payment method to avoid service interruption.
What’s Next?
Now that you’ve completed this guide, check out:
Need help? Post in the Tech Support category or contact support@exoserva.com.