Your Price Book is the secret weapon behind fast estimates, consistent pricing, and healthy margins. New users often skip setup (“I’ll just type each estimate from scratch”) — and end up under-pricing services, forgetting markups, or quoting different prices to similar customers. This guide walks the Price Book page anatomy, the daily workflow for adding services, and the small habits that turn the Price Book from a chore into a profit-engineering tool.
Estimated time: 12 minutes
Before You Begin
- Owner or Manager role with Manage Price Book permission (Roles, Permissions, and Security)
- (Optional but recommended) A list of your top 10-20 services with cost, labor time, and target price — even a napkin sketch is enough to start
- (Optional) Vendor catalogs / wholesale price sheets for parts you commonly install
What is a “Price Book” — and why does it matter?
For new users:
A Price Book is your master catalog of services and parts with standardized pricing. Every line item on every estimate and invoice pulls from it. Without a Price Book, your team is making up prices on the fly — which is how margin leaks, “the last guy quoted $X” disputes, and underpriced jobs happen.
Three things the Price Book does:
- Speeds up estimates — pick from a list instead of typing fresh each time
- Standardizes pricing — every tech quotes the same price for the same service
- Protects margins — you set price-from-cost ratios once; it warns when discounts cut too deep
Step 1: Open the Price Book page
Click Price Book in the left sidebar (under Operations on some plans). Direct URL: /price-book. The page lists every service and part in your catalog with the headline metrics on top.
Step 2: Read the page header
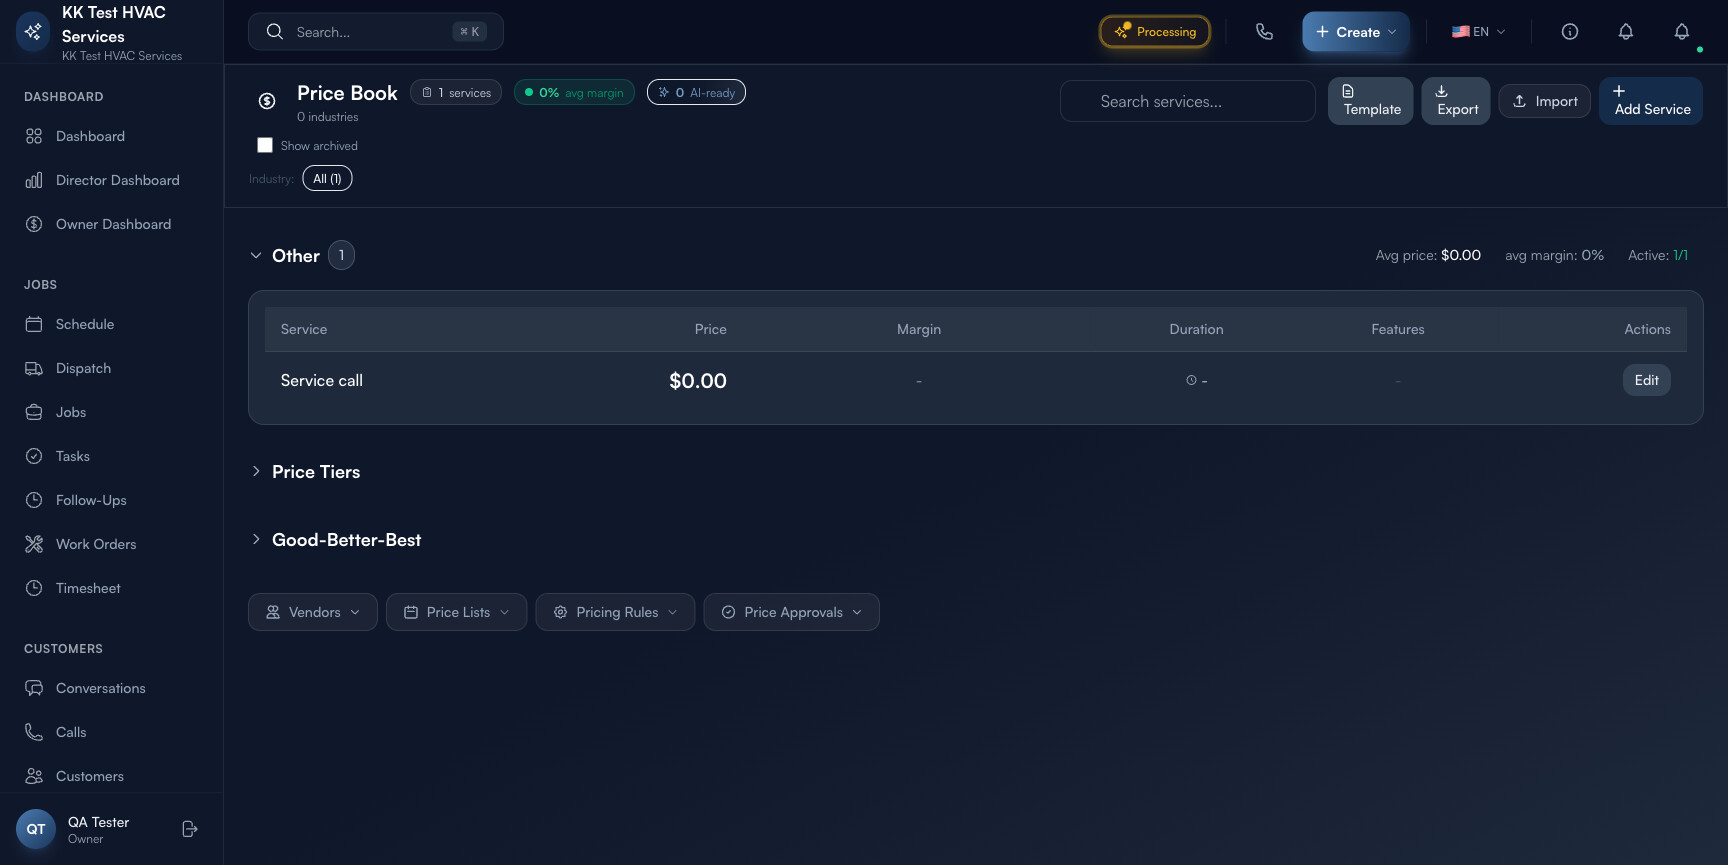
The strip at the top is your catalog health snapshot:
![]()
- Services count — total active services (target: 30-80 for a typical contractor)
- Avg margin % — weighted average of (price − cost) / price across all services. Healthy: 40-60% for service+parts; 50-70% for service-heavy
- AI Assist button — opens AI helper that suggests pricing for new services based on your industry/market
- Action toolbar — Import (CSV), Export, + Add Service
Tip: Watch Avg margin every quarter. A drop usually means: parts costs went up but you didn’t raise prices, or aggressive discounting on big jobs is dragging the average down. Either way it’s an early warning to act before year-end profit takes the hit.
Step 3: Use the search and filters
The filter strip lets you slice and find quickly:
![]()
- Search — type any word from service name, code, or description
- Category — group by Plumbing / Electrical / HVAC / Diagnostic / Maintenance / etc. (you define the categories)
- Status — Active (default) / Inactive / All
- Pricing model — Flat / Hourly / Per-unit
- Bulk actions — select multiple → bulk price-update or category-move
Tip: Use Categories generously. “HVAC” is too broad — “HVAC – Diagnostic”, “HVAC – Repair”, “HVAC – Install” are right-sized. Categories also become Estimate filter dropdowns, so techs find lines faster.
Step 4: Add your first service
Click + Add Service. The form asks:
- Name — what techs and customers see (e.g. “AC diagnostic visit”)
- Category — pick existing or create new
- Code (SKU) — internal code (e.g. HVAC-DIAG-001) — optional but useful for inventory matching
- Description — customer-facing detail; appears in estimates/invoices
- Cost — what you pay (parts cost + labor cost) — internal only, never shown to customer
- Price — what the customer pays
- Pricing model — Flat (one price), Hourly (price × hours), or Per-unit (price × qty)
- Tax category — which tax rule applies (taxable / non-taxable / labor-exempt by jurisdiction)
- Active — toggle off to retire without deleting
Click Save. The service appears in the list immediately and is now selectable on estimates and invoices.
Tip: Don’t leave Cost blank to “skip the setup”. Cost drives the margin display — without it, you can’t see when you’re under-charging. Even a rough cost is better than zero.
Step 5: Use AI Assist to seed the catalog
If you’re starting from scratch, click AI Assist in the header. The AI helper asks a few questions:
- What industry? (HVAC / Plumbing / Electrical / Roofing / Landscaping / etc.)
- What region? (used for labor-cost benchmarks)
- What’s your average ticket size? (gives margin calibration)
It then proposes 30-60 starter services with name, description, suggested cost range, suggested price, and category. Review each, edit anything that doesn’t fit, and bulk-import the ones you want. Saves about 4 hours of catalog setup.
Warning: AI suggestions are starting points, not final prices. Always sanity-check against your actual costs and your local market — pricing is hyper-local and an AI can’t know your specific suppliers, drive distances, or competitive landscape.
Step 6: Build “good / better / best” service tiers
For your top services, create three tiers — same job, three quality/material levels. Example for AC tune-up:
- AC Tune-Up – Basic — $149 — clean coils, check refrigerant, replace standard filter (cost: $48, margin 68%)
- AC Tune-Up – Plus — $249 — Basic + duct inspection + electrical contact cleaning + 1-year filter subscription (cost: $98, margin 61%)
- AC Tune-Up – Premium — $399 — Plus + UV light install + smart thermostat reset + 6-month follow-up visit (cost: $187, margin 53%)
When the tech writes the estimate, all three appear as line-item options. Customers pick the middle one ~70% of the time (anchor pricing) — and your average ticket goes up 30-40% versus single-tier pricing.
Step 7: Import a CSV (bulk catalog setup)
If you have a price book in a spreadsheet or another platform, click Import. Exoserva accepts CSV with columns: name, category, sku, description, cost, price, pricing_model, tax_category, active. Sample CSV downloadable from the import dialog.
Tips for clean imports:
- Strip $ signs from cost/price columns (just the number)
- Use Flat / Hourly / Per-unit exactly as written for pricing_model
- Tax category names must match your existing tax setup
- Run import on a copy first to check, then on the real catalog
Warning: Imports overwrite existing services with matching SKU. If you want to preserve old prices, export first as a backup before re-importing.
Step 8: Manage price changes over time
Every quarter, parts costs change. Vendors raise wholesale 3-7% per year on average. Your Price Book needs to keep up.
- Per-service: open a service → click Edit → bump cost and price together → save. Existing estimates/invoices keep their old price; new ones use the new one.
- Bulk %: select multiple services → Bulk Actions → Adjust Price By % → e.g. +5% — applies to selected lines.
- Cost-driven: filter by Cost > 0 and sort by Margin asc — the lowest-margin lines are where price increases hurt least and matter most.
Tip: Build a Q1 / Q3 ritual: 30 minutes scrolling sorted-by-margin-asc, bumping the bottom 10-15 services up 3-5%. Compound effect over 3 years adds 5-8 points to overall margin without anyone noticing.
Step 9: Common new-user questions
Q: How many services should I have in my Price Book?
A: 30-80 active services covers most contractors. Under 20 means you’re typing too many free-text lines on estimates (slow, inconsistent). Over 100 means too much noise — techs can’t find what they need. If you have 200+ “services” most are really part-variations; consider a separate parts inventory.
Q: What’s the difference between Flat / Hourly / Per-unit?
A: Flat = one number regardless of time/qty (best for diagnostic visits, tune-ups, inspections). Hourly = price × hours worked (best for labor-intensive open-scope jobs like remodels). Per-unit = price × qty (best for parts: one filter, two thermostats, etc.).
Q: Should I show my cost on estimates?
A: No — never. Cost is internal. The customer sees only the price, description, and quantity. Your gross-margin calculation depends on cost being accurate, but it stays behind your firewall.
Q: A customer says “but [competitor] charges less for the same service” — should I lower my price?
A: Be careful. Cheaper competitors are often cheaper because they skip steps (no warranty, no licensed tech, no insured truck). Lowering your price to match means you’re now competing on price, not on quality — and price is a race to the bottom. Better: explain what’s included in your price that the competitor’s doesn’t include.
Q: How do I track price-history per service over time?
A: Each service has a History tab on the detail panel — shows every price change with date, who made the change, old and new value. Useful for analyzing “are we keeping up with cost inflation?” and for defending against “your price went up!” customer pushback (you can show them the timeline).
Step 10: Common new-user mistakes
- Pricing on cost alone — “$80 cost, charge $100, 20% margin” is wrong. Your real cost includes overhead: truck, fuel, insurance, dispatch, marketing. Real overhead in field service is 30-45% of revenue. Price = cost / (1 − target margin) accounting for all overhead, not just COGS.
- Never raising prices — every year of flat pricing is a 3-5% effective price drop (inflation). Flat-priced contractors get squeezed out within 5-7 years. Raise something every quarter.
- One price for every customer — commercial customers expect higher pricing than homeowners; emergency/after-hours is +50-100% premium; warranty work gets a different rate. Build pricing variants for each.
- Skipping the description field — “Service call” says nothing. “Diagnostic visit including 1 hour onsite, written assessment, and refundable to repair if booked within 7 days” sells the value and reduces “what am I paying for?” pushback.
- Letting old SKUs accumulate — every quarter, filter to Inactive in 90+ days and archive. A clean catalog is faster to navigate and shows real margins, not legacy noise.
Real-World Example
You’re a plumbing contractor with 45 services. End of Q1 you spend 45 minutes:
- Filter Price Book → sort by Margin asc → see your bottom 12 services
- Of those, 8 are parts (no margin pressure — vendor cost passes through; you bump price)
- The other 4 are labor services priced 5+ years ago (no inflation adjustment)
- Bump the 4 labor services from $135/hr to $148/hr (+9.6%, catches up 2 years of compounded inflation)
- Bump the 8 parts by their actual vendor-cost increases — average 4%
Net effect on the next 90 days: $14,200 in additional gross profit on the same job volume, no customer complaints (the magnitude is below the threshold most homeowners notice on a 1-time invoice). Zero new sales effort, just a 45-minute spreadsheet ritual once a quarter.
What’s Next?
- Estimates and Quotes — where Price Book line items get used
- Creating and Sending Invoices — same line items, on the bill
- Inventory Management — link Price Book SKUs to physical stock
- Field Service Invoicing: How to Get Paid Faster — strategic pricing playbook
Need help? Post in the Tech Support category or contact support@exoserva.com.