Accept credit card and ACH payments directly through Exoserva by connecting Stripe. Once set up, you can charge customers from invoices, collect deposits on estimates, and track all payment activity in one place. Stripe Connect Express handles the heavy lifting – you get a fully compliant payment processor without managing merchant accounts yourself. This guide takes about ten minutes.
Estimated time: 10 minutes
Before You Begin
- An active Exoserva account (completed Guide 1: Creating Your Account)
- Admin role in your Exoserva workspace
- A valid bank account for receiving payouts
- Your business EIN or SSN (required by Stripe for identity verification)
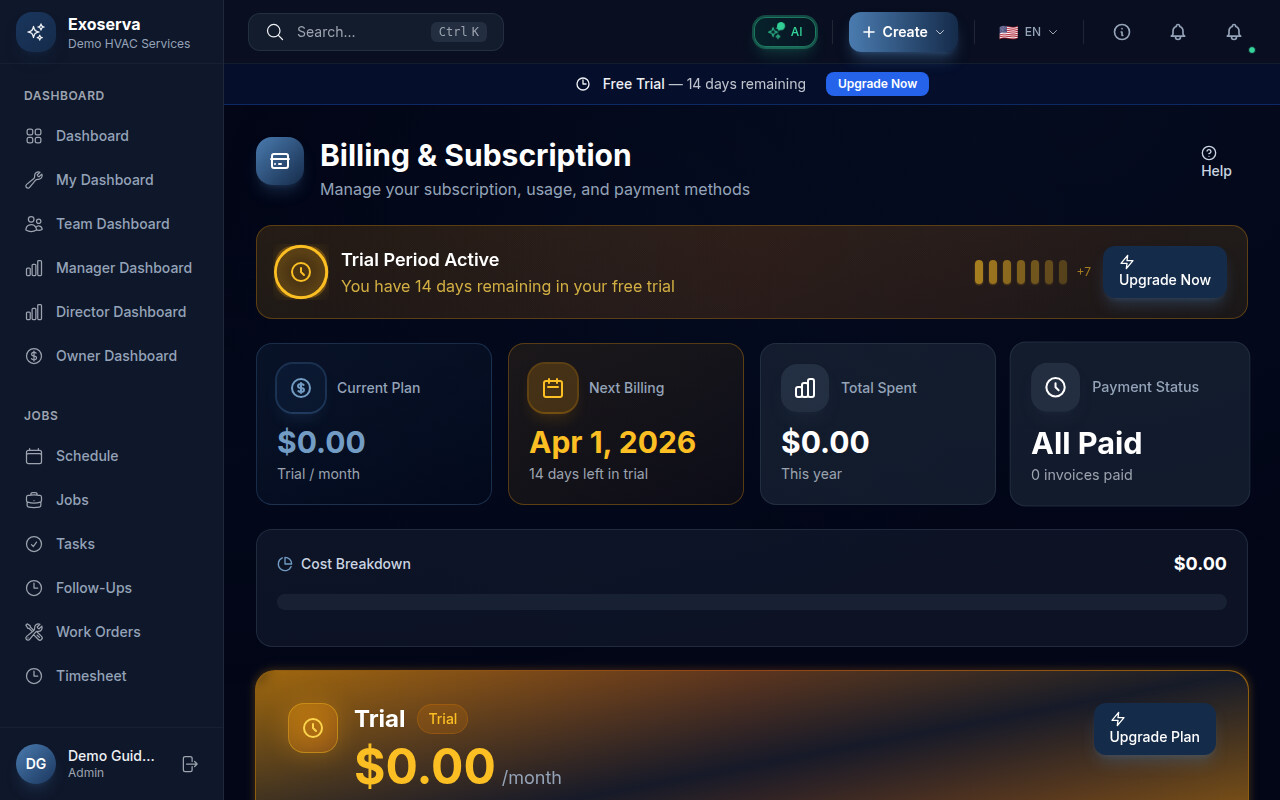
Step 1: Navigate to the Billing Page
From the left sidebar, click Billing. The Billing page contains your subscription details, invoicing tools, and the Payment Gateway section. Scroll down until you see the Stripe Connect card. If you have not connected Stripe yet, the card will show a “Not Started” status with a brief description: “Enable Stripe payment processing to accept credit card payments directly from your customers through Exoserva.”
Tip: The Stripe Connect card also appears on your main Dashboard if payments have not been set up yet, giving you a quick shortcut.
Step 2: Start the Stripe Onboarding
Click the Get Started button on the Stripe Connect card. Exoserva will generate a secure onboarding link and redirect you to Stripe’s hosted onboarding page. This page is served directly by Stripe – Exoserva never sees or stores your sensitive financial details.
Step 3: Complete Stripe Identity Verification
On the Stripe onboarding page, you will be asked to provide:
- Business type (sole proprietor, LLC, corporation, etc.)
- Legal business name and address
- EIN or SSN for tax reporting
- Bank account details for receiving payouts (routing and account numbers)
- Phone number for two-factor authentication
Fill out each section carefully. Stripe verifies this information in real time, so using accurate data avoids delays.
Warning: Double-check your bank account details. Incorrect routing or account numbers will cause payout failures that can take several days to resolve.
Step 4: Wait for Verification
After submitting your information, Stripe will redirect you back to Exoserva. The Stripe Connect card will now show a Pending status with an amber indicator. Most accounts are verified within a few minutes, but some may take up to 24 hours if additional documentation is required. Exoserva checks the status automatically every 30 seconds while you are on the page.
Step 5: Confirm Your Connection
Once Stripe approves your account, the card updates to show an Enabled status with a green indicator. You will also see:
- Available Balance: Funds ready for payout to your bank.
- Pending Balance: Recent payments that have not yet cleared.
These balances update in real time as you receive payments from customers.
Step 6: Access the Stripe Dashboard
Click the Open Dashboard button on the Stripe Connect card to open your Stripe Express Dashboard in a new tab. From there you can:
- View detailed transaction history
- Manage payout schedules (daily, weekly, monthly)
- Update your bank account or business information
- Download tax documents (1099 forms)
This dashboard is hosted by Stripe and provides a complete view of your payment activity.
Step 7: Test a Payment
To make sure everything works:
- Go to Invoices in the left sidebar and create a test invoice for a small amount.
- Send the invoice to a customer (or to your own email for testing).
- Open the invoice payment link and complete a payment using a credit card.
- Return to the Billing page and verify the payment appears in your Available or Pending balance.
If the payment goes through successfully, your Stripe integration is fully operational and ready for production use.
Step 8: Understand Payment Status Indicators
The Stripe Connect card uses color-coded status indicators:
- Green (Enabled): Everything is working. You can accept payments.
- Amber (Pending): Your account is being verified. Payments cannot be processed yet.
- Red (Restricted): Stripe has flagged an issue with your account. Check your email or Stripe Dashboard for required actions.
- Grey (Disabled): The connection has been deactivated. Contact support if this is unexpected.
Keep an eye on the status indicator to catch issues early. If your status ever changes from Enabled to Restricted, address it promptly to avoid payment disruptions.
What’s Next?
Now that you’ve completed this guide, check out:
Need help? Post in the Tech Support category or contact support@exoserva.com.