Get from the Exoserva landing page to your first dashboard view in about 5 minutes.
Estimated time: 5 minutes
Before You Begin
- A modern browser
- A work email you can check in the next few minutes
- Optionally: company name and phone number — both make recovery and onboarding smoother
Step 1: Open exoserva.com
Go to exoserva.com.
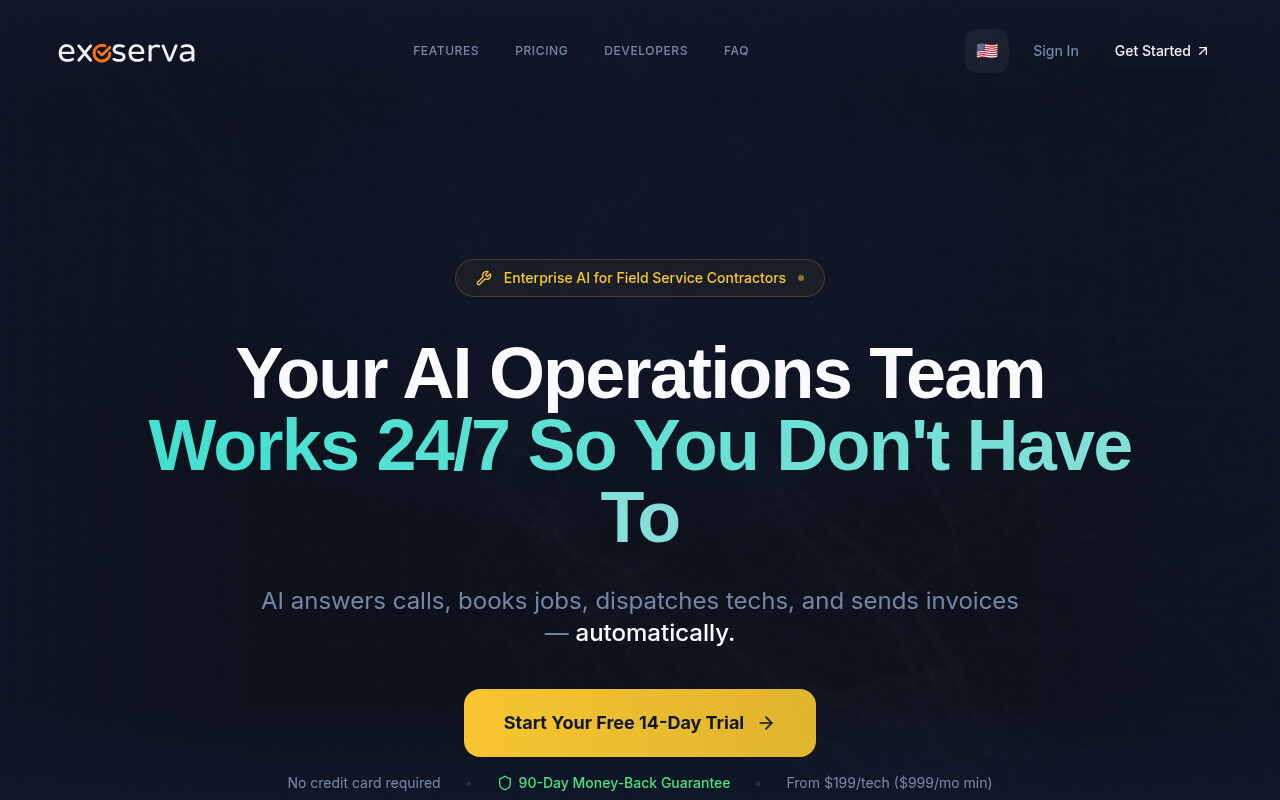
Tip: The
flag in the top nav switches language. 11 languages available: English, Español, Русский, Français, Deutsch, Português, 中文, 日本語, 한국어, Italiano, Tiếng Việt.
Step 2: Click “Start Free Trial”
Click Start Free Trial in the hero (or the same button in the top-right nav).

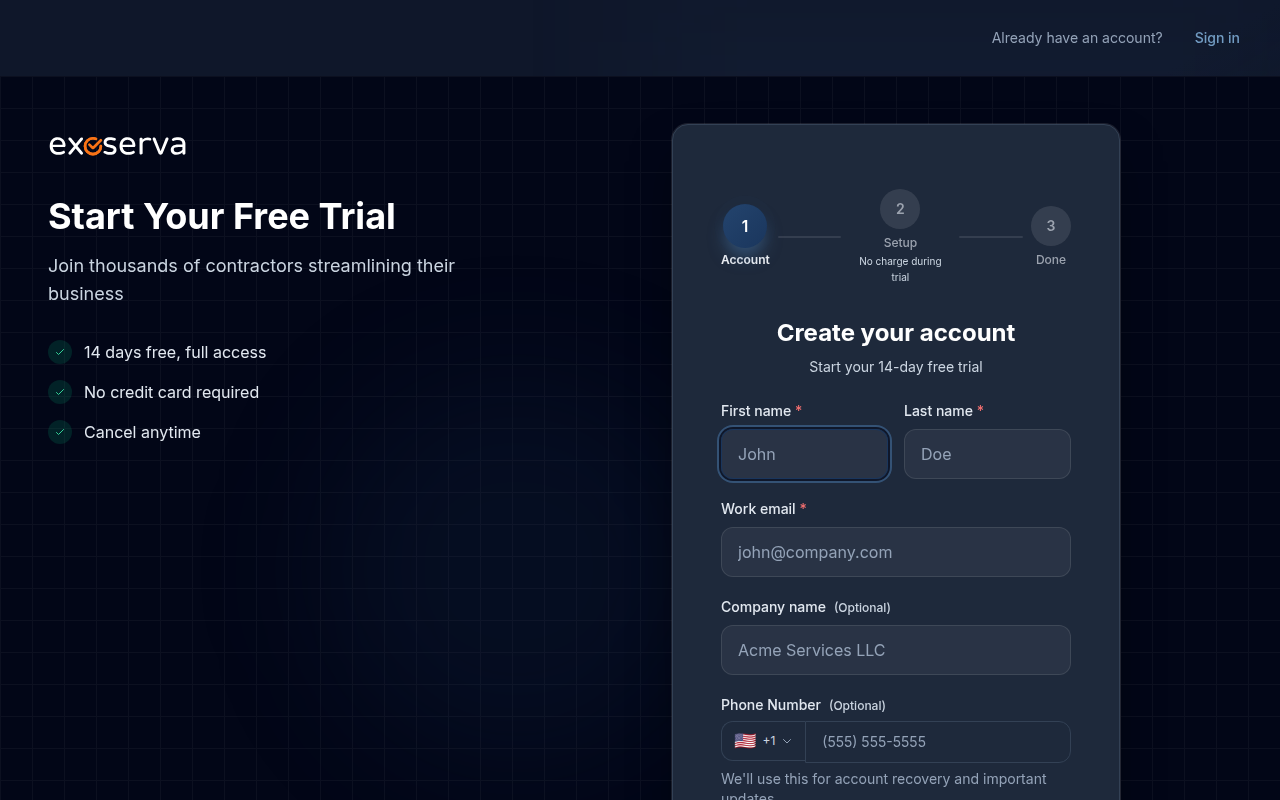
Step 3: Fill in Your Account Info
Fill in:
- First name, Last name, Work email (required)
- Company name, Phone Number (optional)
Step 4: Set a Password
Enter a password (8+ characters), then re-enter it to confirm. Click the eye icon if you want to verify what you typed.
Step 5: Accept Terms and Continue
Tick I agree to the Terms of Service and Privacy Policy and click Continue →.
Step 6: Personalize Your Business
Answer the 6 quick questions: business type, team size, monthly job volume, features needed, service area, and how you heard about Exoserva. Each step has keyboard shortcuts (1, 2, 3…) and a Back button.
Step 7: Land on Your Dashboard
You’re in. The Getting Started checklist on the dashboard guides your next setup tasks (add a customer, create a job, send an estimate, invite team members).
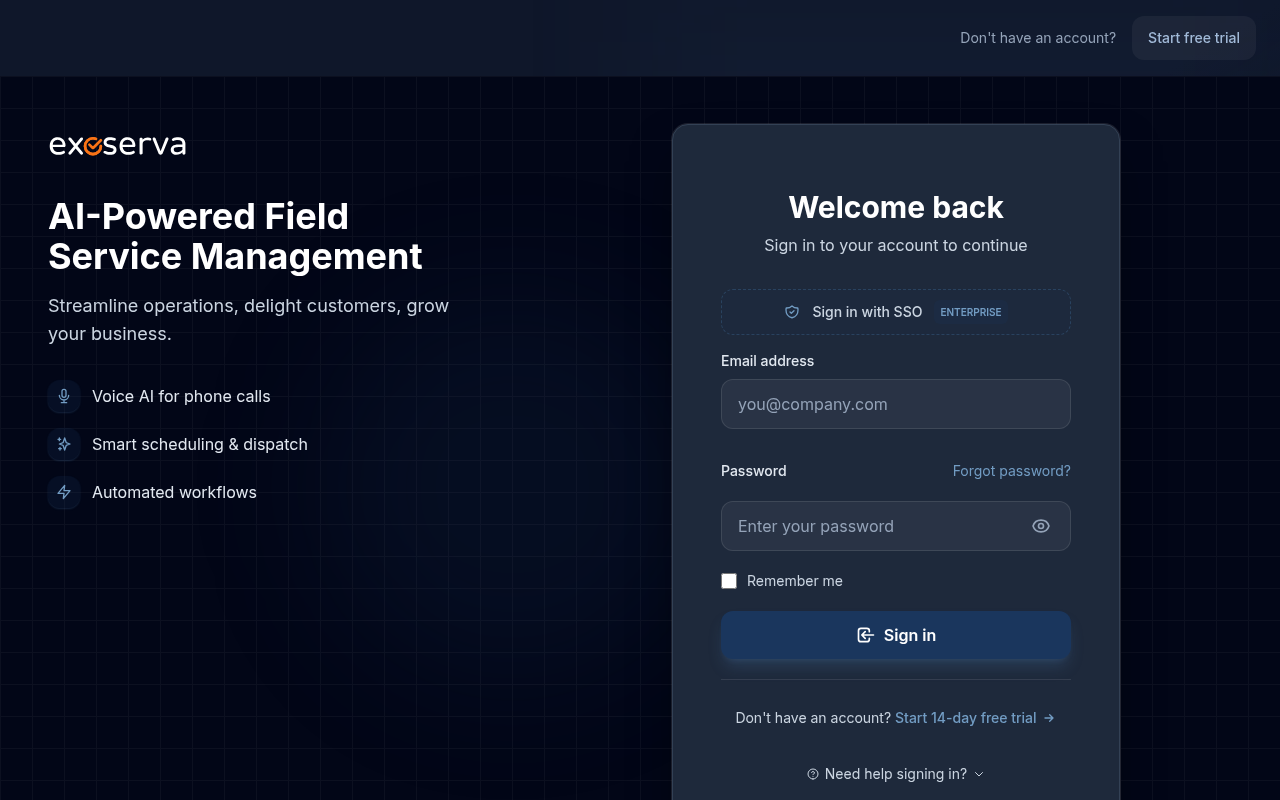
exoserva.com/loginand tick Remember me on trusted devices. The personalization wizard runs only once.
Verification (if required)
If Exoserva sends you a verification email, click the link to confirm. No email after a couple of minutes? Check spam, then resend from the in-app prompt.
Real-World Example
You’re a plumbing contractor finishing your last job and decide to try Exoserva. From clicking Start Free Trial to seeing your dashboard takes ~5 minutes — most of it is the personalization wizard (“Service Business, 2-5 people, ~50-200 jobs/month, Regional”). Your dashboard’s Getting Started checklist already shows the right next steps for your size.
What’s Next?
- Setting Up Your Company Profile — branding, tax IDs, business hours
- Your First Look: Dashboard Overview — what each panel shows
- Adding Team Members & Assigning Roles — invite your dispatcher, technicians, and managers
- Setting Up Voice AI — turn on your 24/7 AI receptionist
Need help? Post in the Tech Support category or contact support@exoserva.com.